
"Tera Karu Tera Karu Din Gin Gin ke IntzaarAaja Piya Aaye Bahaar"

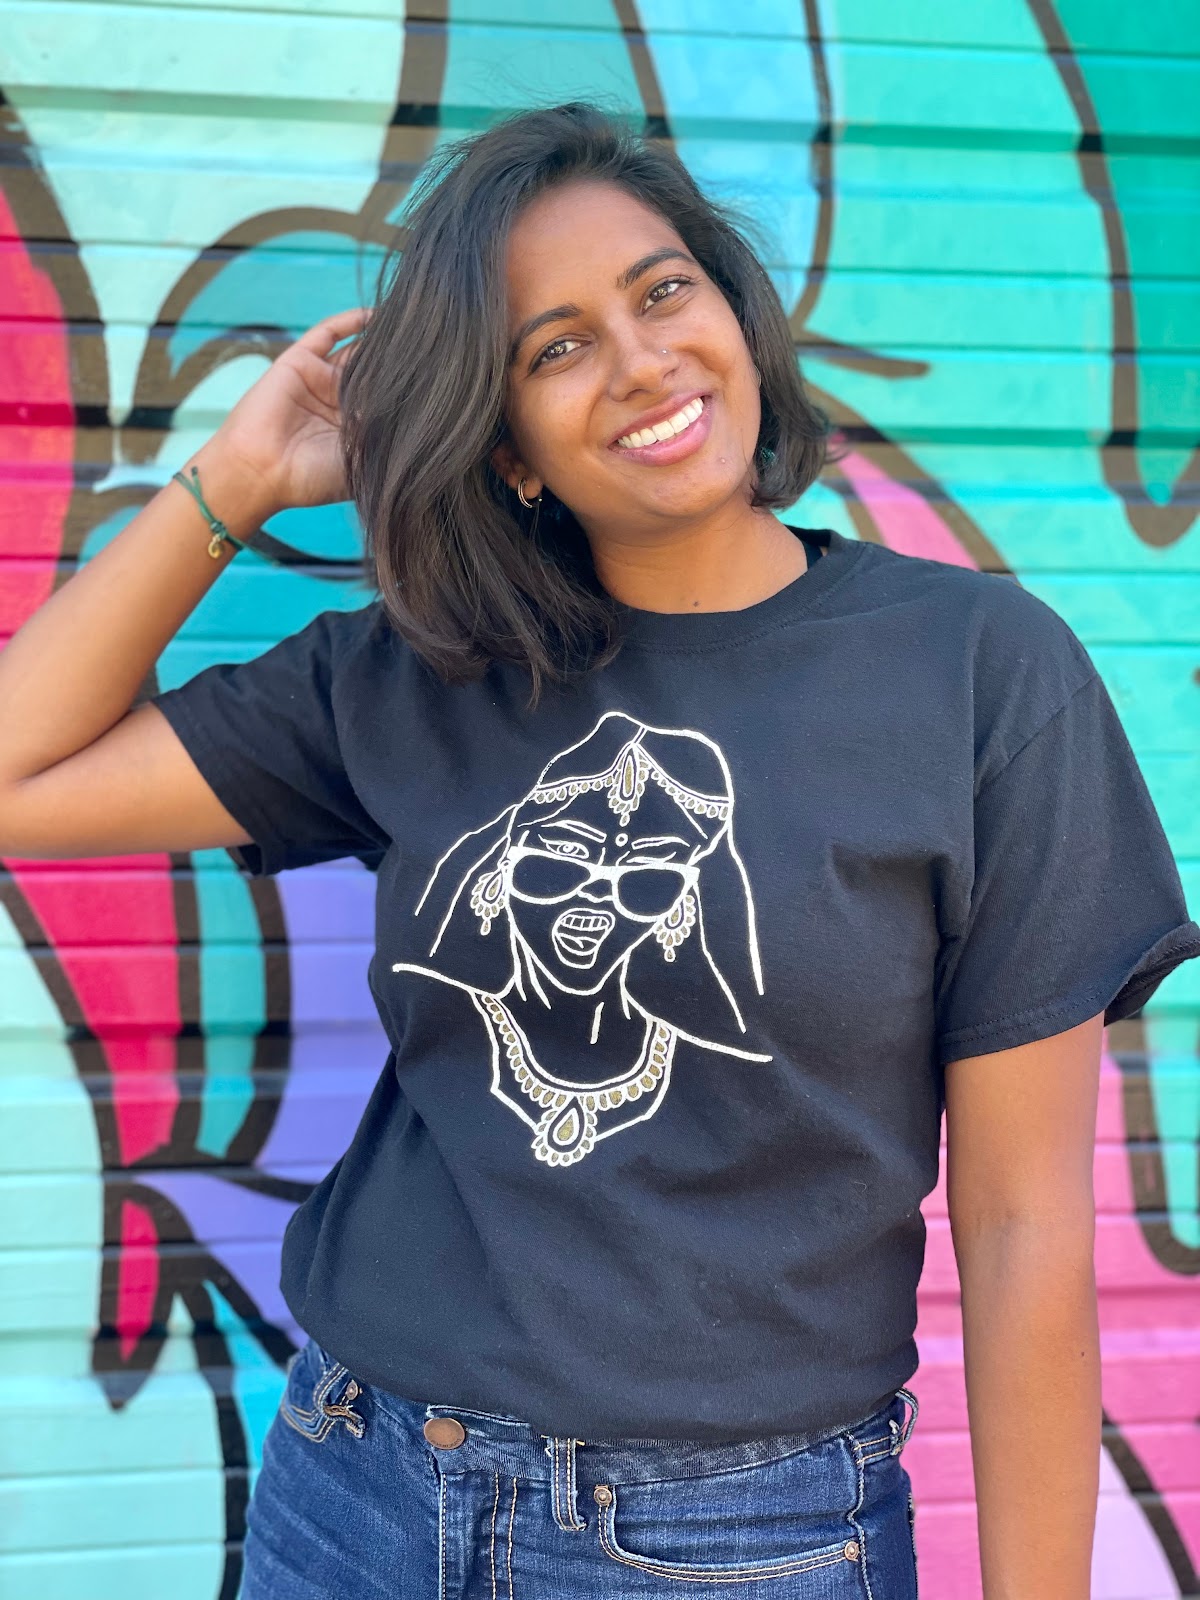
I host Friendiwali every year, I love hosting parties and even more, I LOVE themes! Themed parties are my fave because they force me to be creative, not only with the theme and what I'm going to wear but also the decor and menu! So this year my Friendiwali party was Bollywood Themed - dress as a Bollywood character. I went for a costume I could make at home and have fun with, and what better than the iconic Madhuri Dixit "Ek Do Teen" outfit??
The Details:
- Total Price: ~ $75 - $100
- Total Time ~ 20 Hours
The Materials:
- Chiffon Fabric in: blue, yellow, pink, purple (1 yard each)(*Optional: Secondary pink color)
- Silver Sequins in different sizes
- Silver thin ribbon
- Thick white ribbon
- One shoulder crop top/sports bra (Preferably Pink)
- Small silver beads(I used these earrings)
- Silver Kundoro / Waist chain
- OPTIONAL: Embellishments for details, Pink shorts/yoga capri

The Skirt
1. Cut the Chiffon fabric into squares/rectangles. You want them to be in various sizes. The longest should measure from your lower hip to under your knees one corner to the diagonal corner. The shortest can be from the lower hip to mid thigh (I made the yellows the longest, and the purples the shortest based on making it as close to the song outfit as possible)

2. Decorate the Fabric. I randomly grabbed and glued the different sized sequins around the fabric. It doesn't have to be a lot. I used tacky glue at first and it horribly failed, hot glue gun works much better but is a bit harder to work with due to the strings. Fabric glue works well, but takes longer to dry. Go with what works for you. After dry, glue the skinny silver ribbon along the ends to create a nice border and cover the nasty look of cuts.


3. I made 4 yellow, 4 blue, 4 pink, and 8 purple rectangles. I then took a thick white ribbon and measured it around my lower hips. I stuck velcro at one end, this would be how I fasten the skirt. You're also welcome to use safety pins or glue later. Then just start gluing the corners of the fabric in a line along the thick ribbon.
* I tried to follow the Madhuri outfit as best as possible, this meant the fabric went as follows:
Blue - Yellow - Pink - Purple - Yellow - Blue - Yellow - Purple - Pink - Yellow - Blue
(Front Middle)
With purple rectangles in between in the back since they are smaller! Added umf to the back
* Also switch up which end of the corner is above another, this will help the way the fabric falls in front of or behind each other.
* Pinching the corner to be slimmer or fully lengthened on the ribbon will also change how the square falls. I suggest laying most out stretched, and pinching those in between, like the purples.


4. Attach the top pink layer. I took an old dupatta scarf and folded it over twice (4 layers of fabric), glued and ironed to create a nice thick fabric to be glued over the top. glue this along the thick ribbon on top of colored rectangles. Four layers of fabric was what I needed to cover the others, you may need to fold less or more depending on your fabric.
*Be sure to keep the velcro pieces open!! Don't glue anything on them!


5. Embellish! Here I used a bunch stuff I found laying around the house and had left over from accessorizing the top! The middle purple piece I found in a drawer of my mom's sewing things. The little colorful balls I had cut off a scarf I was gifted and hated. The rhinestone like trim I cut from a ribbon like piece I had bought. The beaded circles were the tops of the earrings I had taken apart for the crop top. and the middle string with beads were pieces of the necklace leftover from making the crop top. I wanted to sew the same beaded strings on here, but went with a more subtle look. This piece can also look good plain, or even with the same random sequins as on the rectangles.


Now make sure things are fitting well. I recommend placing the other side of the velcro on the pink piece now so you can fit the skirt comfortably. You are more than welcome to glue the skirt to any leggings or shorts you will be wearing underneath, I personally didn't want to glue it to anything so I just used the velcro and some safety pins to fasten and tucked the top into my leggings.

The Crop Top
1. Cover the Sports Bra. I had measured the dupatta fabric before I cut it for the skirt to make sure a double layer of it would be available to cover the entire sports bra. I would start gluing at the bottom in the front. And then line with the same faux rhinestone like ribbon I had used on the skirt.

2. Add beaded fringe. Take apart the earrings/necklace/ornament. I found silver beaded earrings at Forever 21 and Dillards that I then took apart in order to make the beaded fringe hanging down from the sports bra. Even a necklace or christmas ornaments that look like this can easily be taken apart for this effect. I simply took them apart, took out 3-5 beads from one string, threaded the needle, popped the string through the fabric and glued the thread to the other side of the fabric. Glue worked for me because the fabric was thick and the hot glue didn't seep through. test a little area of your fabric first.


* I would continue to add the beaded fringe randomly all over. Only after I had a significant chunk done did I glue the fabric to the sports bra a bit higher up.

* I HIGHLY recommend putting on the sports bra repeatedly, safety pinning the fabric the way you'd like it to sit and then glueing it. For a lot of mine I ended up gluing the fabric while it was still on me just looking in the mirror (CAUTION: HOT GLUE GUN CAN BURN YOU), just be careful not to burn yourself.

3.. Embellish: So my sports bra came with this weird teardrop cut out around the chest. (WTF?? How do you workout in such a thing??) And while I would've loved to simply cover it up with my fabric, it could be seen through the fabric and didn't look great. So I decided to embellish. I bought 2 of these necklace/earring sets from Walmart for $4 a piece, cut them up in different bead lengths to fit the tear drop and glued to a piece of ribbon which I then glued to the bottom side of my sports bra. Glue the ribbon side toward you so the chains don't scratch against your skin. Since I had a bunch left over, I did the same to add some embellishment to the shoulder.


5. Cover the Back. Now mine is a sports bra, which means it needs to be able to stretch and go over my head to put on/take off. For this reason I recommend stretching the sports bra/crop top as much as you can, and then proceeding to glue along the bottom. This will make sure the material is stretchable, otherwise once glued you won't be able to stretch it to put it on. After glueing the bottom, I recommend putting on the whole thing backwards (So the back is now the front) and proceeding to glue down the fabric. You're more than welcome to embellish the back, I unfortunately ran out beaded fringe and time to do so. Keep in mind, the back won't look as neat as the front due to the stretchy factor.

6. Add the trim anywhere you'd like. Put the crop top on and make sure things look and fit well. Adjust anything that could use a touch up.


The Head Piece
1. Take some leftover of the yellow fabric. Fold it over twice so you have 4 layers. Glue the ends so it stays like that. Randomly glue down the different sized sequins. Tie on head.

Finish
You simply want to safety pin the kundoro/waist chain on so it can be used separately when needed. I just linked it under my armpit area, had it loop down and up to the other side, and then proceeded to do the same in the back.


Hope I inspired you to get crafty for your next themed event!!
-A
Buy some of the stuff I used here:


Post a Comment